Our products


Tips:
Certificates:


Thermal insulation with Grafit +
Thinner boards, better performances - Grafit +
Decades back Styropor® is a brand that is recognized by its effective thermal insulation. But even the classics evolve. The result of the intensive research of BASF is Grafit +, grey insulating material successor of the classic Styropor®.
BASF AG produces Grafit + in the form of polystyrene granules, enhanced with graphite, plus an agent for expanding. The new, innovative technology managed to successfully improve the thermal-insulating capabilities of the panels made of Grafit +, compared to the already existing classic Styropor®.
Compared to the conventional EPS, Grafit + can reach the same insulating characteristics with approximately lesser usage of the insulating material.
Energy and money savings
Many of the older buildings spend more than 200kWh/m2 per year for heating. Or if you are using household oil for heating those numbers are about 20l per 1m2 in one heating season. Furthermore if you are using gas for heating than the consumption is 20m3 per square meter in one season. Following these numbers one average household with 150m2 living space, with a need of 200kWh/m2 for one year, consumes on average 3000l oil, or 3000m3 gas. These extremely high numbers can be greatly reduced by taking the right steps in thermal insulation of the building. The studies have shown that energy savings with more than 50% can be achieved simply by installing thermal insulation. The money spent for the insulation will be returned after the first following heating season.
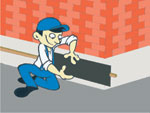
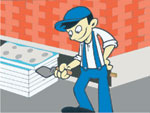
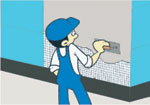
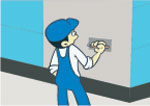
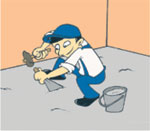
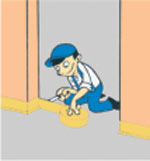
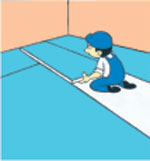
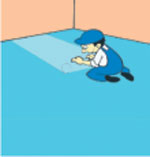
Application of Grafit +
Grafit + can be applied on all construction sites where EPS had proven itself in the last 50 yesrs:
- Inside and outside insulation of outer walls
- Acoustic insulation
- Insulation of in-between floors
- Insulation of basement floors
- Insulation of flat roofs
Project of the year, 3-litre house in Germany
The fact that an old house with no insulation can be turned into a house that saves energy and is consuming absolute minimum energy for heating was proven by BASF in Ludwighafen, Germany with the project that at the same time was rewarded project of the year in Germany, 3-LITRE HOUSE.
This house was built in the year 1930, and compared to the practically new one that was received with the renovation was spending 7 times more resources for heating than the ‘new one’ after the completion of the project. When talking about numbers, until the renovation the consumption of oil for heating was 23l of oil for 1m2 in the heating season, and after the renovation the consumption of oil was reduced to a remarkable 3l of oil for 1m2 in one season, which means for 100m2 the casts were reduced from 700€ to 100€.
The savings are primarily based on the usage of thermal insulation with 20cm thick Grafit + boards on the outside walls.
Suggestion for using Grafit +, with calculated benefit
| State without insulation | Insulation with 100mm Grafit + | Insulation with 120mm Grafit + | Insulation with 140mm Grafit + | Insulation with 160mm Grafit + | |
| Coefficient of heat transmission (U value) W/m2* K | 1.6 | 0.29 | 0.25 | 0.22 | 0.19 |
| Reauired value for heating Qh value kWh/yr на m2 | 121 | 22 | 19 | 16.5 | 14.5 |
| Reauired energy in kWh/yr = 0.86 на m2 | 141 | 25.5 | 22 | 19 | 17 |
| Household oil L/(m2/yr) or gas | 14.1 | 2.6 | 2.2 | 1.9 | 1.7 |
| Oil or gas savings for 1m2/year | ... | 11.5 | 11.9 | 12.2 | 12.4 |
| Oil or gas savings for 100m2/year | ... | 1.150 | 1.190 | 1.220 | 1.240 |
| Oil or gas savings for 100m2/for a period of 30 years | ... | 24.500 | 35.700 | 36.600 | 37.200 |
| Estimated costs for Grafit + for 1m3 | ... | 10 | 12 | 14 | 16 |